Blog Panel Design
A blog panel design is an advanced layout with two columns.
Example of Asciidoc document. See source text
[https://raw.github.com/llaville/asciidoc-bootstrap-backend/master/examples/demo3.asciidoc]
.
In this design, we used :
-
css-signatureattribute to customize only the blog page colors (background) -
roleattribute to customize css rules -
colsattribute to specify columns width -
halignattribute to specify main content on left, and intro title (post dates) on right side
We used additional css rules added to themes/2/flatly/user.css to give such design.
body#blog {
    background-color: #d3d3d3;
}

.blog  > .title {
    margin: 0;
}
.blog > .content {
  /* .panel */
  margin-bottom: 21px;
  background-color: #ffffff;
  border: 1px solid transparent;
  border-radius: 4px;
  -webkit-box-shadow: 0 1px 1px rgba(0, 0, 0, 0.05);
          box-shadow: 0 1px 1px rgba(0, 0, 0, 0.05);
  /* .panel-body */
  padding: 15px;
}
.blog > .content > p > strong {
  color: #ff0000;
}
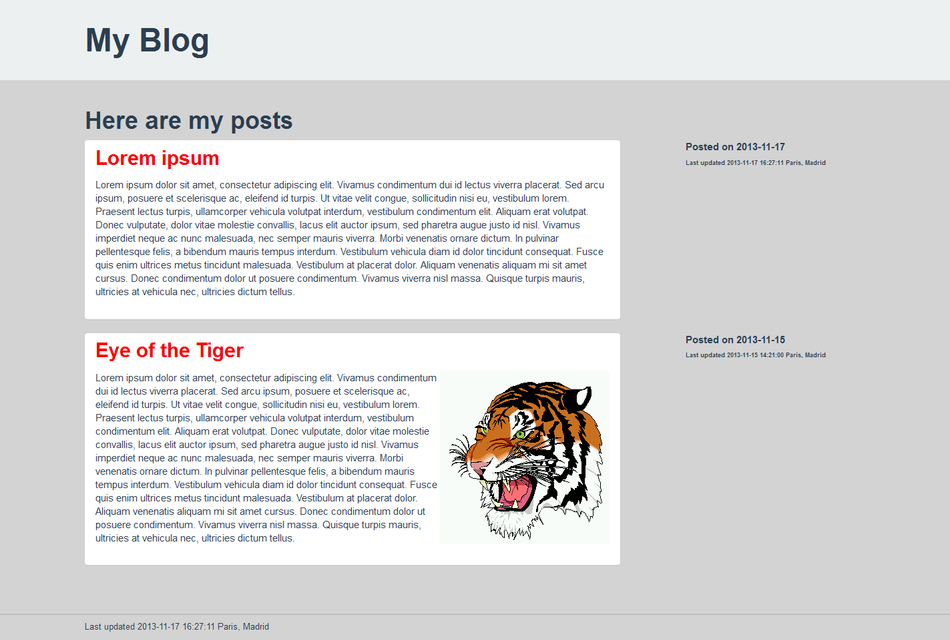
Result with flatly theme
Enter the following command:
$ asciidoc -b bootstrap -a bsver=2 -a theme=flatly -a jumbotron-fullwidth -a css-signature=blog /path/to/document/demo3.asciidoc
And here are the final result that you should get.
About this document
How to build the source code
[https://raw.github.com/llaville/asciidoc-bootstrap-backend/master/examples/blog2.asciidoc]
.